Tuesday, April 24, 2012

Trailer Bunks Carpeted


Today, I finished carpeting the trailer bunks. Pics to come.

Monday, April 23, 2012

By the Way!


The reason I haven't been working on this boat as much as I would like is because of this!! It is almost finished, and all Pat and I have to do is put the rest of the interior in and a few small details and it will be flying soon! This will be one SWEET flying airplane!
The panel has a double Chelton EFIS with a complete steam gauge stack, autopilot, Garmin 340, 430, and 327 and an extra SL-40 radio. The autopilot can be switched to be used on the Chelton or the Garmin 430. There is no vacuum on the airplane, as it is a completely electric panel. Less weight and less money!

Trailer Jack and Trailer Lights Installed


Yesterday, after working on Pat's RV-9A and getting it very close to flying, I finally got back to work on the wiring and lights on the trailer. I also used conduit wherever I could to help with future abrasion issues. They were checked on my Dodge Quad Cab and work good! I was going to give it a test tow without the boat on it, but haven't yet.
I also installed the trailer jack the other day. It is a Tool Shop brand? from Menards that was on sale for $24.99 and is the 1500 pound version with a two year warranty! I couldn't find a better deal than that anywhere.
3 hours
Does anybody reading this know how to fix the new way the photos are put in the blog? I can not seem to get them to line up correctly now, as they will not let me put them side by side.

Thursday, April 12, 2012

Trailer Finished Except for the Lights


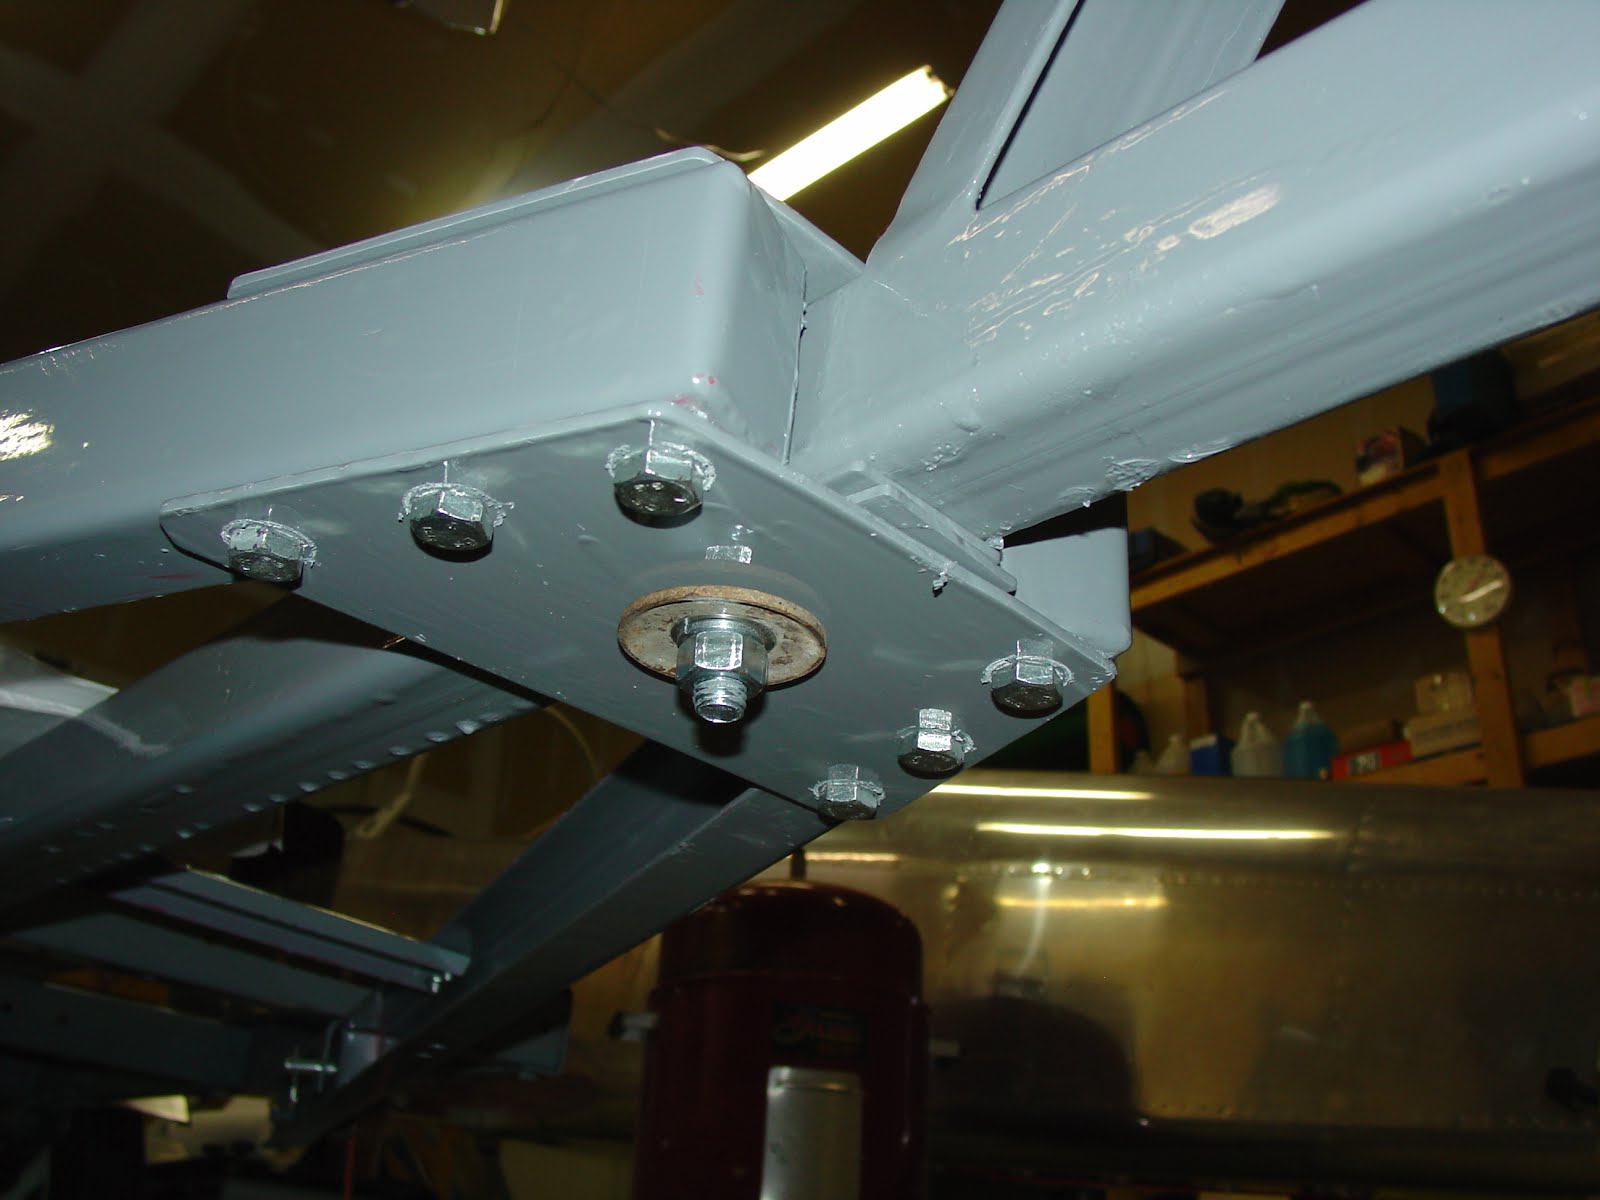
Yesterday, I assembled the rest of the parts onto the tongue area after they semi-dryed from the painting yesterday. I also installed a 1/2" bolt through the two plates, the 2" x 2" tongue and two shims. I then drilled a 3/8" hole through the top front coupler hole and used one of the original bolts for the original coupler and used that to attach the safety chain.
I also installed the wood bunks with 5/16" galvanized carraige bolts.
4.5 hours

Tuesday, April 10, 2012

Painted Trailer Parts


Today, I spent the morning painting all of the parts of the trailer that were primed or still had red showing from the first painting. I also installed the coupler with new 1/2" x 3 1/2" grade 5 bolts, lock washers and nuts. I will install all of the painted parts tomorrow and then it will be ready for the wood bunks to be installed.
2.5 hours

Monday, April 9, 2012

Boat Trailer Welded Up


Yesterday and Today, I welded up all of the trailer parts and made the Harbor Freight trailer into the boat trailer. I also welded up all of the connections on the Harbor Freight trailer, so if I need to, I can take out all of the bolts that now hold it together. I then cleaned and painted all of the welded areas, as well as the other side where the paint was burned off, the normal Smoke Gray.
All I need to do now is paint the trailer tongue and associated parts the Smoke Gray and attach the new coupler with the 1/2" x 3" bolts, then attach the wood for the bunks. I will also make one more modification to the front plate area by drilling a 1/2" hole and put one bolt through there. I don't know if I will weld it after that or not. It will not really be needed. I also need to put a tapered shim under the winch as the bar was welded on a little crooked.
I will not show any of the welds I accomplished as they were not great. Strong enough but not pretty. I used my Miller Econotig welder which is a tig welder and a stick welder. I used 6010 and 6013 electrodes, and I found I liked the 6013 better as they were easier to weld with and make a somewhat better looking weld. I was going to try tig welding alot of them, but my hose for my argon bottle broke when my bottle fell over. Need a new one now.
10 hours

Tuesday, April 3, 2012

New Trailer Tongue and Some Angle Iron


Today I spent the time going to get new 2" x 2" x 1/8" thick square tubing and some 1 1/2" angle 3/16" thick. I then trial fit all of the new pieces into place (no pictures of that) and cleaned them with acetone, then primered with the Rust-Oleum White Primer. I also primed the two flat plates that will be at the front of the A-frame. These pieces will be primed again tomorrow if needed, or will be painted the usual Smoke Gray.
6 hours (including travel time)

Saturday, March 31, 2012

Trailer Tongue; Trailer Built


Yesterday and today, I spent a lot of time finishing painting all of the additional parts for the tongue and winch triangle. Since they are new metal, I decided to buy some Rust-Oleum White Primer and applied that to all three parts, then coated them today with the Smoke Gray. I also put all of the parts outside yesterday until today to let them dry out a little more. The Rust-Oleum doesn't seem to stick too well to the sanded down red Harbor Freight Trailer paint. It comes off pretty easily right now, so I may try something different in the future, like sanding or sandblasting them down to the bare metal, and then putting on primer and paint. The new metal appears to be holding the paint WAY bettter.
Today, I put the trailer completely together, other than the modifications I will do to add the longer tongue. The trailer was relatively easy to assemble, but took more than 7 hours today! I made some new pieces for the front where the original coupler would be, as you can see it just sitting on the trailer. Those pieces were made out of 1/8" steel plate, and the lower one was made the same size as the top original piece. You may be able to see them in the photo that my daughter Selena is modeling.... Don't you just love her blue hair!! (Sarcasm) It normally isn't that big but I will be welding the new tongue to it so I want it to be strong. I am also thinking about buying a piece of 2 1/2" x 2 1/2" 1/8" thick steel tube to use for the new tongue, as the one piece I have that you see in the last photo is 2" x 3" and is working out to be harder to weld into place without making the bottom front plate completely different. It would have to be bent in several places to be able to be welded to the tongue and bolted to the A-frame.
I did take out the bearing grease that was already in the original trailer bearings and replaced it with a good quality grease from Valvoline after cleaning out the bearing with solvent and blowing them dry.
When I get some extra money, I may change out all of the fasteners on the trailer with stainless steel, so they would never rust. I checked out the cost and it is nearly $100.00 for new stainless steel fasteners!!
I also have checked the height of the trailer and the height of the boat, and it appears that it will be a very tight fit to get the boat inside the garage when it is on the trailer. It is so tight that I will have to actually try it before deciding what to do about that. It will get inside the garage one way or another when it is done. So I may buy smaller wheels just to use when it is at home, move the axle above the springs, or ????? Use dollies maybe?? Any ideas?
11 hours

Thursday, March 29, 2012

Painted Most of the Trailer Parts


Applied one coat of the Rust-Oleum Smoke Gray paint to most of the trailer parts except for the axle, the new tongue and the parts that will hold the winch.
I also got some white primer made by Rust-Oleum that I will use on the new parts before painting them the smoke gray color.
2.5 hours

Wednesday, March 28, 2012

Sanded All Parts of Harbor Freight Trailer


All parts besides the trailer axle and the new 2"x3" steel tube that will be the new tongue. I will get to that tomorrow. Then they will all be cleaned off and painted Smoke Gray!
4.5 hours

Tuesday, March 27, 2012

Third Layer of Epoxy on the Hull

This morning I put the third, and hopefully the last, layer of epoxy on the hull, rub rails and gunwhales.
2 hours.

Monday, March 26, 2012

Hull Sides, Rub Rails and Gunwhales Sanded and Epoxied Twice


Yesterday and Today, I sanded down the filled areas and applied a layer of epoxy and let it cure. Then I sanded it down again with 220 and 150 grit sand paper by hand and with a orbital sander and epoxied it again. I think one more layer should seal everything fine before sanding and painting the entire outer hull.
I also epoxied the battery box holder to seal it a little better.
Yesterday, I also began building the Harbor Freight trailer I will be using for this boat. I am first going to sand down every piece and repaint them with Rust-Oleum Industrial Smoke Gray. Then I will assemble it with stainless steel fasteners instead of the steel fasteners they provide. I am also adding a long tube for extending the tongue, so I had to buy a new coupler for the 2" x 3" steel tube, opting for the 3500 GVW version as it is much stronger.
10 hours

Saturday, March 24, 2012

Sanded and Filled the Rub Rails and Gunwhales


Today, I sanded down all of the rub rails and gunwhales nice and smooth. Then I filled all of the screw holes and imperfections. I also put fillets and the bottom side of the gunwhales and the top and bottom of the rub rails. The fillets were just wood flour and epoxy.
I also installed the wooden battery box in the back under the seat. It will contain the plastic battery box to keep it from moving around when the boat is underway. No pictures of it yet.
Next, I will sand them down again and put two or three layers of epoxy on all of the sides of the hull. Then comes the paint!!!!!!
6.5 hours

Thursday, March 22, 2012

Rub Rails and Gunwhales Epoxied On


Today, I epoxied both rub rails and both gunwhales to the hull using Raka Epoxy with slow hardener so it would sink in as deep as possible in the wood. First, I rounded off each forward end and trimmed the aft ends to match the transom.
The right rub rail was also filleted on the top side, but I got too tired to do the left side.
9 hours