Sunday, April 25, 2010

Making the Keel Smooth


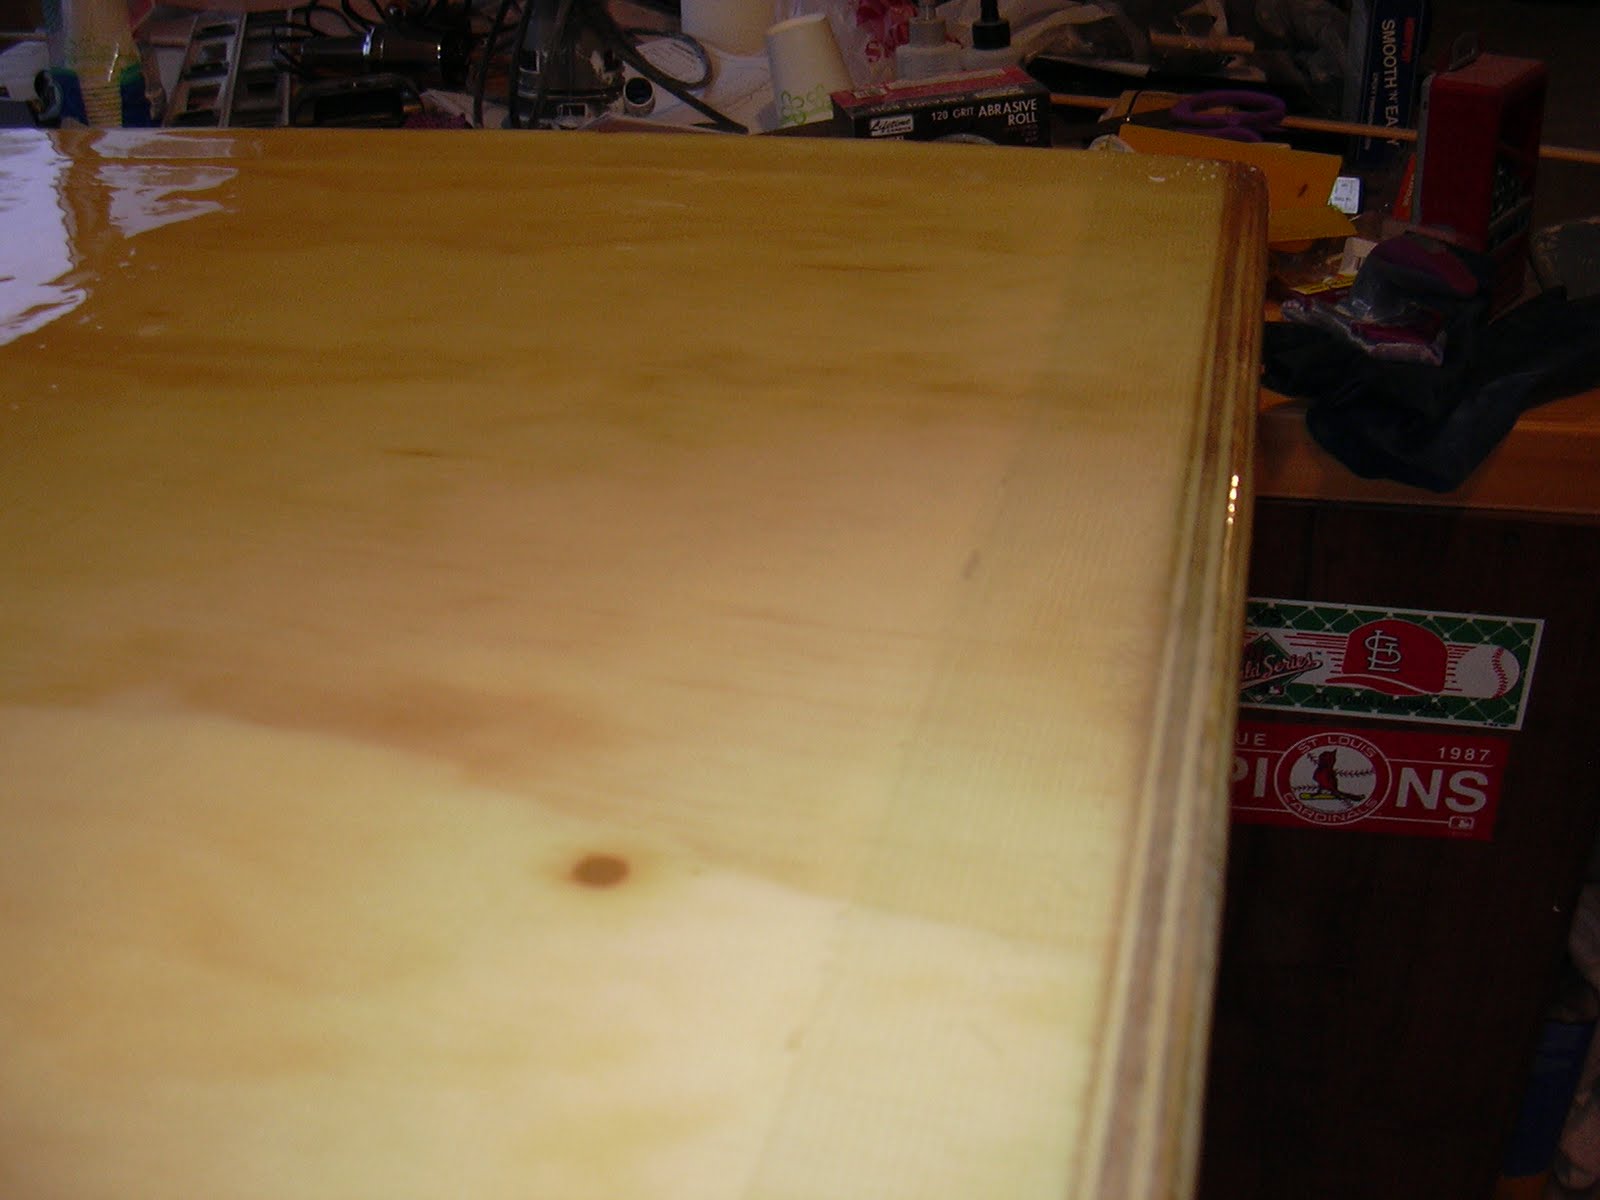
Last night and this morning was spent sanding, sanding, and more sanding. The lines from the fiberglass tape were visible and I wanted to smooth everything down as much as possible. I then added one more layer of epoxy to fill all exposed fiberglass cloth from the sanding and to smooth everything out. The sides were not completely epoxied because there will be tape added with the keel is attached to the bottom. If you look closely at these photos and the ones from before, you should be able to see the difference where the fiberglass tape is.
I was going to do the bottom next, but I think I will go ahead and make the transom. I will need two 2x6's and one 2x4 for the jig to bend and epoxy the transom pieces together, so off to Lowes I goes.

Sunday, April 18, 2010

Keel Fiberglassed


After several more weeks off for traveling and things, I have finally got to fiberglassing the keel exterior. First, I put four inch fiberglass tape on all of the corners, and then put one layer of fiberglass over the entire keel. In the close-up picture, you can seen the four inch around the corners.
I then applied at least three more layers of epoxy on everything to smooth it out. Most of it is now glass smooth.
After it has dried one more day, I will sand most of it down to smooth it out and apply some fairing material to make it look better.
I now need to get started on the bottom of the boat!

Tuesday, March 30, 2010

Sanding and Filling All of the Holes


I have worked on the keel for several days without adding to the blog, so here is what I have accomplished.
The last few days, I have completed a lot of sanding to get the keel ready for the fiberglass on the exterior.
I have also filled all of the screw holes with a wood flour/epoxy mixture and let them cure.
I will try to sand all of them down smooth tonight so I can lay up the fiberglass soon.
I faired the sides of the keel into the stem, making it a smooth transition, and I also routed all of the edges with a 1/2" roundover bit.

Saturday, March 6, 2010

Keel in One Piece!


Today I finally got to epoxying the entire keel together.
I first put a coat of un-thickened epoxy over all areas that were going to join, then I mixed up some epoxy with wood flour to thicken it up. This mixture was spread on all areas to be joined.
The left side went on first, then the right, and was screwed very carefully along the way. I didn't want any new holes in the plywood where they shouldn't be. I then epoxied in all of the keel stiffeners, and filled all of the screw holes on the interior with thickened epoxy.
The stem was then set in the same two mixtures, but I couldn't get it perfectly straight. It is very close, but not really good enough for my standards. Unfortunately, there is not a lot I can do about it at this point. I just hope it will not be too noticeable when it is completed.
I also put another layer of epoxy on all interior surfaces of the keel structure, making it at least three coats on everything.
Next, I will turn it over and get it ready for fiberglassing the bottom.

Monday, February 15, 2010

Lots of Sanding

Yesterday, I spent about 2 hours sanding all of the parts I epoxied on Saturday to get them ready to start gluing the keel together.
No Pictures today.

Sunday, February 14, 2010

Layering on the Epoxy


Yesterday was spent putting at least two layers of epoxy on all of the parts of the keel to be assembled next. About 3.5 to 4 hours were taken in between coats to allow it to gel up before the next layer of epoxy was applied. Extra care was taken to coat all of the edges of the plywood pieces as they seem to just soak up the epoxy. The attached pictures are after the first coat. The second coat sealed it much better, although there are a few spots I will sand a little bit and add a third coat. This is the only time to seal these parts as it will be completely sealed up once it is attached to the bottom of the boat. There are no second chances to make sure you sealed everything. I am also thinking about fiberglassing the entire inside of the keel, but I will at least fillet and tape all of the corners.
Next to assemble and epoxy the entire keel together.

Sunday, February 7, 2010

All Screwed Up! Then Not.


After much time doing other things like trying to finish the RV-9A airplane in the garage, I finally got around to attaching all of the keel stiffeners in place. It took exactly 198 screws, sheetrock and wood screws. I wanted to make sure that everything would be really tight once it is epoxied together. I used the wood screws for the sides and bottoms of the keel stiffeners.
I used the sheetrock screws for most of the rest of it, but they will not be used anymore.
After I completely assembled everything and made sure it was all straight, I disassembled it all to start the gluing up process.
First to epoxy together are the keel stiffeners and Douglas Fir pieces. All of the areas to be glued together were first coated with the epoxy then let sit for a couple of minutes and coated a second time before being screwed together. This is because the epoxy will quickly soak into the plywood and Douglas Fir pieces, and you don't want any of the glue joint to be lacking the epoxy. I then took a squeegee and used the epoxy squeezed out to coat some of the parts being glued together.
They were left overnight to let the epoxy harden, and then I started taking out the sheetrock screws, where I had two of them break off. As stated before in a previous post, I thought this would happen, so I am no longer going to use them. They are WAY too weak. I also have no real good way to remove the part of the screw that broke off, so they will be epoxied over several times to seal them real good. Everything will be coated two or three times with epoxy anyway.
Now to start epoxying the keel itself together.

Wednesday, January 13, 2010

Keel Stem Reset


Yesterday, I was able to work on the boat again for the first time in a week due to some traveling and other activities.
As noted before, the stem was not straight in alignment with the center line of the keel, so I decided to see if I could correct this problem.
I took the stem screws out and re-trimmed the notch at the bottom of the stem to make it match the bottom of the keel better. I used my new T-Bevel to accomplish this task, and I am now sure glad I bought it the other day. A cheap tool that will come in very handy in the future.
I also trimmed the left keel side back to match the right side.
I then re-attached the stem with on screw through the bottom of the keel bottom into the notched area of the stem to hold it straight with the center line of the keel. Slowly, I drilled new holes and re-attached the keel sides to the stem again, while my girlfriend held the stem in perfect vertical level in both dimensions, and holding the stem in center alignment with the keel center line. Quite complicated for such a small piece, but it will make a big difference when the boat is completed. Everything needs to be as straight as possible or it will look funny when it is done.
It came out way better this time than the first time when I tried to accomplish it all myself. Thank God for Girlfriends!!!

Tuesday, January 5, 2010

Stem Attachment to the Keel Continued


I attached the stem to the keel side with 1 1/4" drywall screws after trying to straighten the planed edges on the keel sides. The angle was slightly off on both sides, and it still is to some extent. I will have to work on it a little bit more to make sure that the stem with be straight up and down and not turned sideways. I think I am going to trim back the left keel side a little bit to make it match with the right side. Right now it is approximately 1/4" farther forward on the stem.
If you look very carefully in the pictures, you can see that the stem is off about 3-4 degrees torqued sideways. Hard to understand what I am talking about, but it is there.
I have also now bought some wood screws that I will use in the White Oak to make sure that they do not break off inside after epoxying everything together. The wood screws appear to be much stronger. I have also heard that applying regular bar soap to the screws should help when removing them. I may try that.
The bottom of the stem will be trimmed to match the bottom of the keel curve, which should make it a little more pleasing to the eye. It will also help a little bit when fiberglassing that area. The smoother the better.
I have also planed down and sanded all of the Douglas Fir pieces to make sure they are not above the keel sides, but as level with it as possible. When the bottom of the hull is attached, I want it to contact all of the top surfaces of the keel as much as possible.

Sunday, January 3, 2010

Stem Attachment to the Keel


On New Years Day, I started the process of attaching the stem to the keel sides and bottom. This requires the two plywood sides to be planed down at an angle to match up with the keel sides. I thought I had it pretty close, but the rear edge appeared to need planed down, but after accomplishing that I found that I had planed it too much. Now, I will need to sand or plane down the forward edge of the keel sides to match it up better. This may work out pretty good in the end as the stem is a little over the 1 1/2" measurement that is in the plans. If I had a planer-surfacer, I would have planed it down to the exact 1 1/2". See attached pics for clarity on this issue.
I also planed and sanded down the rear most Douglas Fir keel stiffener.
Today I will try to fix the angle problem with the keel sides. I also noticed that the front of the keel sides are slightly warped, so I will have to adjust for that when screwing everything together. I will also need to notch out the bottom of the stem to match it up with the keel bottom. It is kind of a weird angle.

Friday, January 1, 2010

First Assembly of Keel Continued


I completed installing all of the keel strengtheners yesterday. There are two things I have left before disassembling the parts and then reassembling with epoxy.
First is to attach the stem, after notching it and attaching the 1/2" quarter round. The second is to take the keel strengtheners back off and drill the small hole for the screw in the bottom and sides of the keel. I have already marked their locations as you can see with the pencil marks. After taking them off and drilling those holes, I will reinstall them to drill the strengtheners themselves.
Believe it or not, all of these parts except for one (the rear most portion of the bottom) is built from one piece of plywood, except for the obvious Douglas Fir parts and the stem. Very little is left from that one piece of plywood. It did take a little time to make sure everything was nested together on the plywood as close as possible to get this result.
The stern most piece of Douglas Fir and the plywood will still need to be planed down to the correct level of the sides.
FYI- None of these screws that are used to assemble all of the keel will be left in the parts. They are only used to get everything in alignment, epoxied together, and then they are removed. Hopefully, none of them will break off when removing them. Sheet rock screws easy break if over-torqued I found out when finishing my basement.

Wednesday, December 30, 2009

First Assembly of Keel


Yesterday, I began to assemble the keel parts, starting from the stern and moving forward. The back panel of the keel had to be planed a little bit to allow for the 9 degree bevel on the bottom and top.
I then began to attach the sides to the bottom, along with the stiffeners, with sheet rock screws. I predrilled the sides approximately a 1/4" up with a 5/64" bit to make sure that the screw would be located correctly. Then, as I attached the sides, I drilled the 5/64" hole into the bottom piece, doing one hole at a time to insure that the bottom was perfectly aligned. After drilling the hole thru into the bottom piece, I enlarged the hole in the side piece to 1/8" to allow the screw to grip the bottom piece to pull them tight. That screw was them installed and tightened just enough to pull everything tight.
I got all of the side to bottom screws completed, but still need to attach the three forward stiffeners and stiffener panels, which still have to be measured and cut out.
Pictures are going to be attached next to show this assembly sequence.
The stem will be notched and attached next.
After everything is screwed together and labeled for correct re-assembly, the entire assembly will be taken apart. All parts will be checked and then re-assembled with epoxy and all seams taped with fiberglass. All interior parts of the keel will then be coated with epoxy at least twice to make sure it remains waterproof.