Friday, April 15, 2011

Rear Seat Doubler Cut Out and Epoxied On


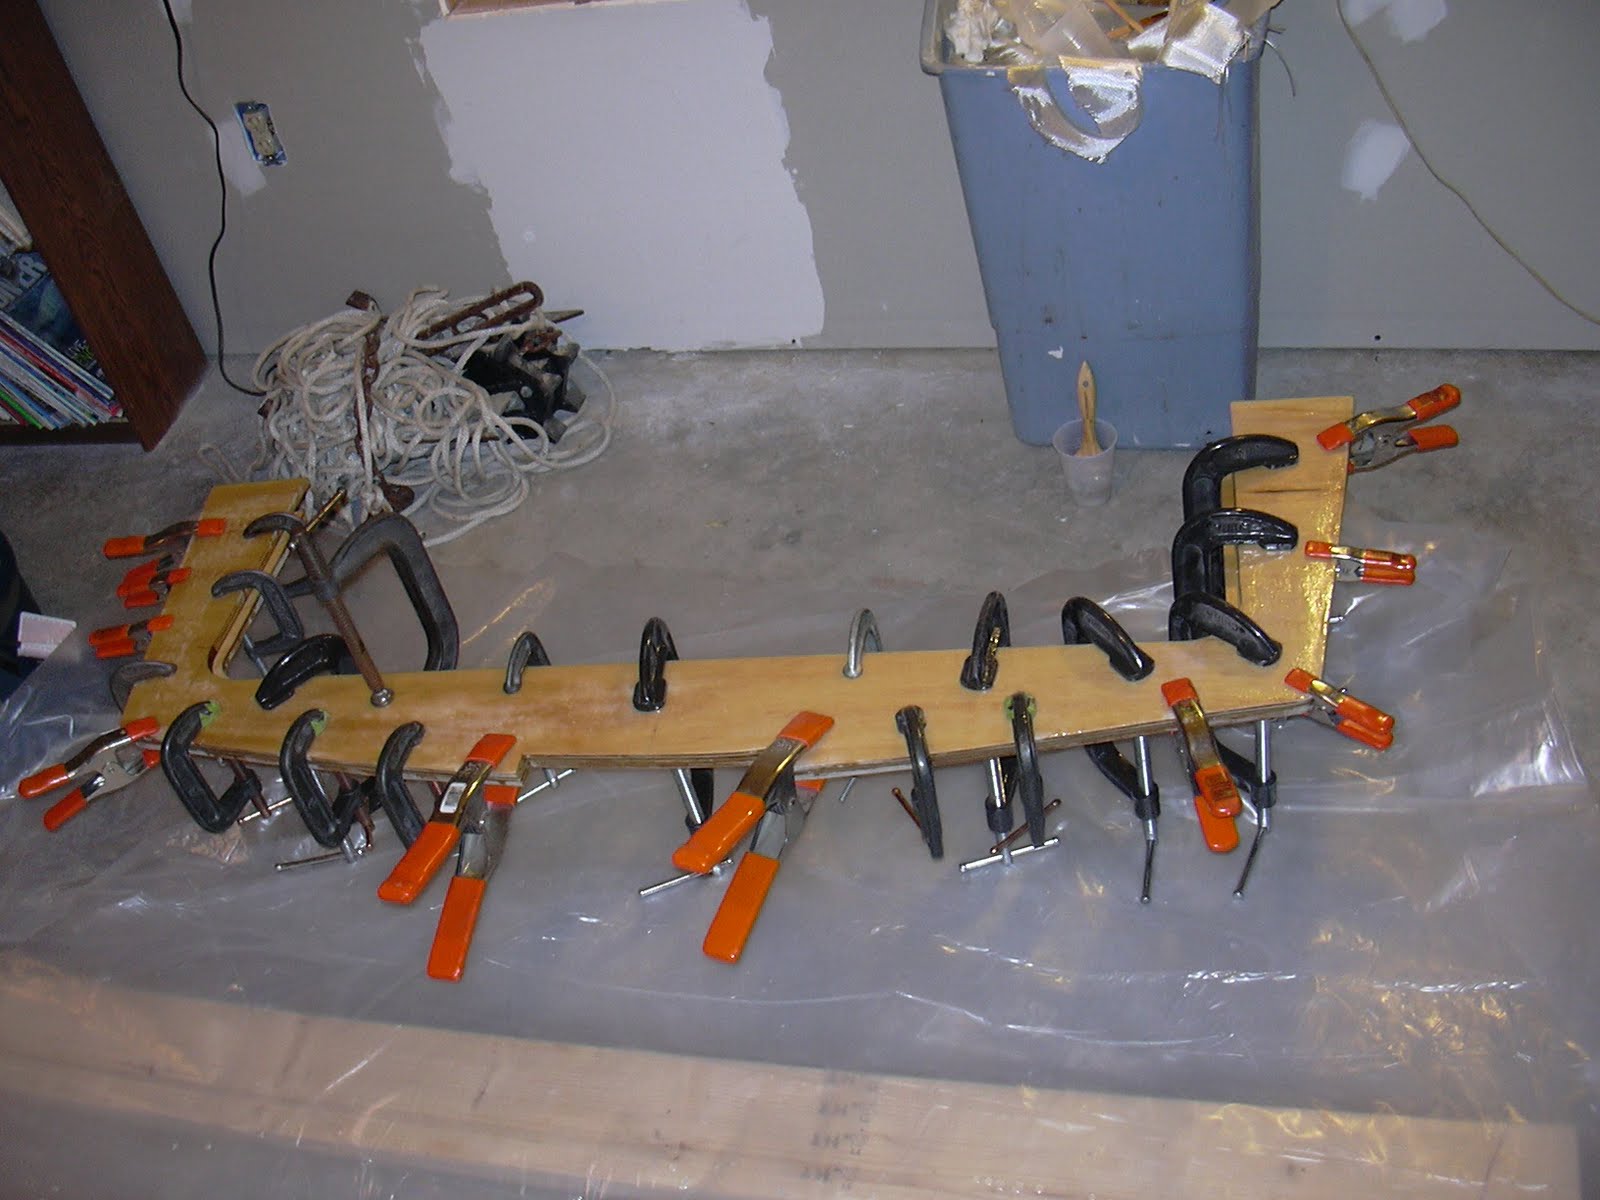
Tonight, I cut out the rear seat from the part that will be epoxied onto the transom and hull sides. I then used the rear part to cut out a doubler from 1/2" plywood and epoxied them together. As you can see from the last photo, a lot of clamps were used to make sure they were squeezed together well. This rear part should be able to be epoxied into place onto the hull and transom tomorrow.
2 hours

Monday, April 11, 2011

Sanded Re-filled Holes/Fiberglassed Bottom of Rear Seat Top


Today, I fiberglassed the bottom of the rear seat top and applied a second layer of epoxy as well. I also sanded down all of the re-filled areas of the holes that didn't completely fill in the first time around. The interior holes that were filled in at the front of the hull section under the front deck were also sanded down.
The transom doubler was sanded down for the next layer of epoxy.
I began to try to figure out the pilot house set up as well.
3 hours

Sunday, April 10, 2011

Sanded Filled Holes/Fiberglassed Rear Seat Top/Rounded Transom Doubler


Today, I sanded down all of the holes filled yesterday and then applied thickened epoxy on the ones that didn't fill all the way in. I also sanded down the interior filled holes, as well as filled the ones up below the front deck that I didn't get to before. They will be sanded down tomorrow.
I also fiberglassed the top of the rear seat after re-fitting it to the boat. The front of the rear seat was rounded over with a 1/2" roundover bit before fiberglassing, as well. I will wait for it to cure before cutting out the rear seat hinged part.
The transom doubler was rounded over with a 1/2" roundover bit on my router and then covered with a layer of epoxy.
The sides of the hull that stuck out behind the transom were sanded down to match the transom and the corners were rounded over by hand sanding.
6 hours

Saturday, April 9, 2011

Screws Removed and Holes Filled


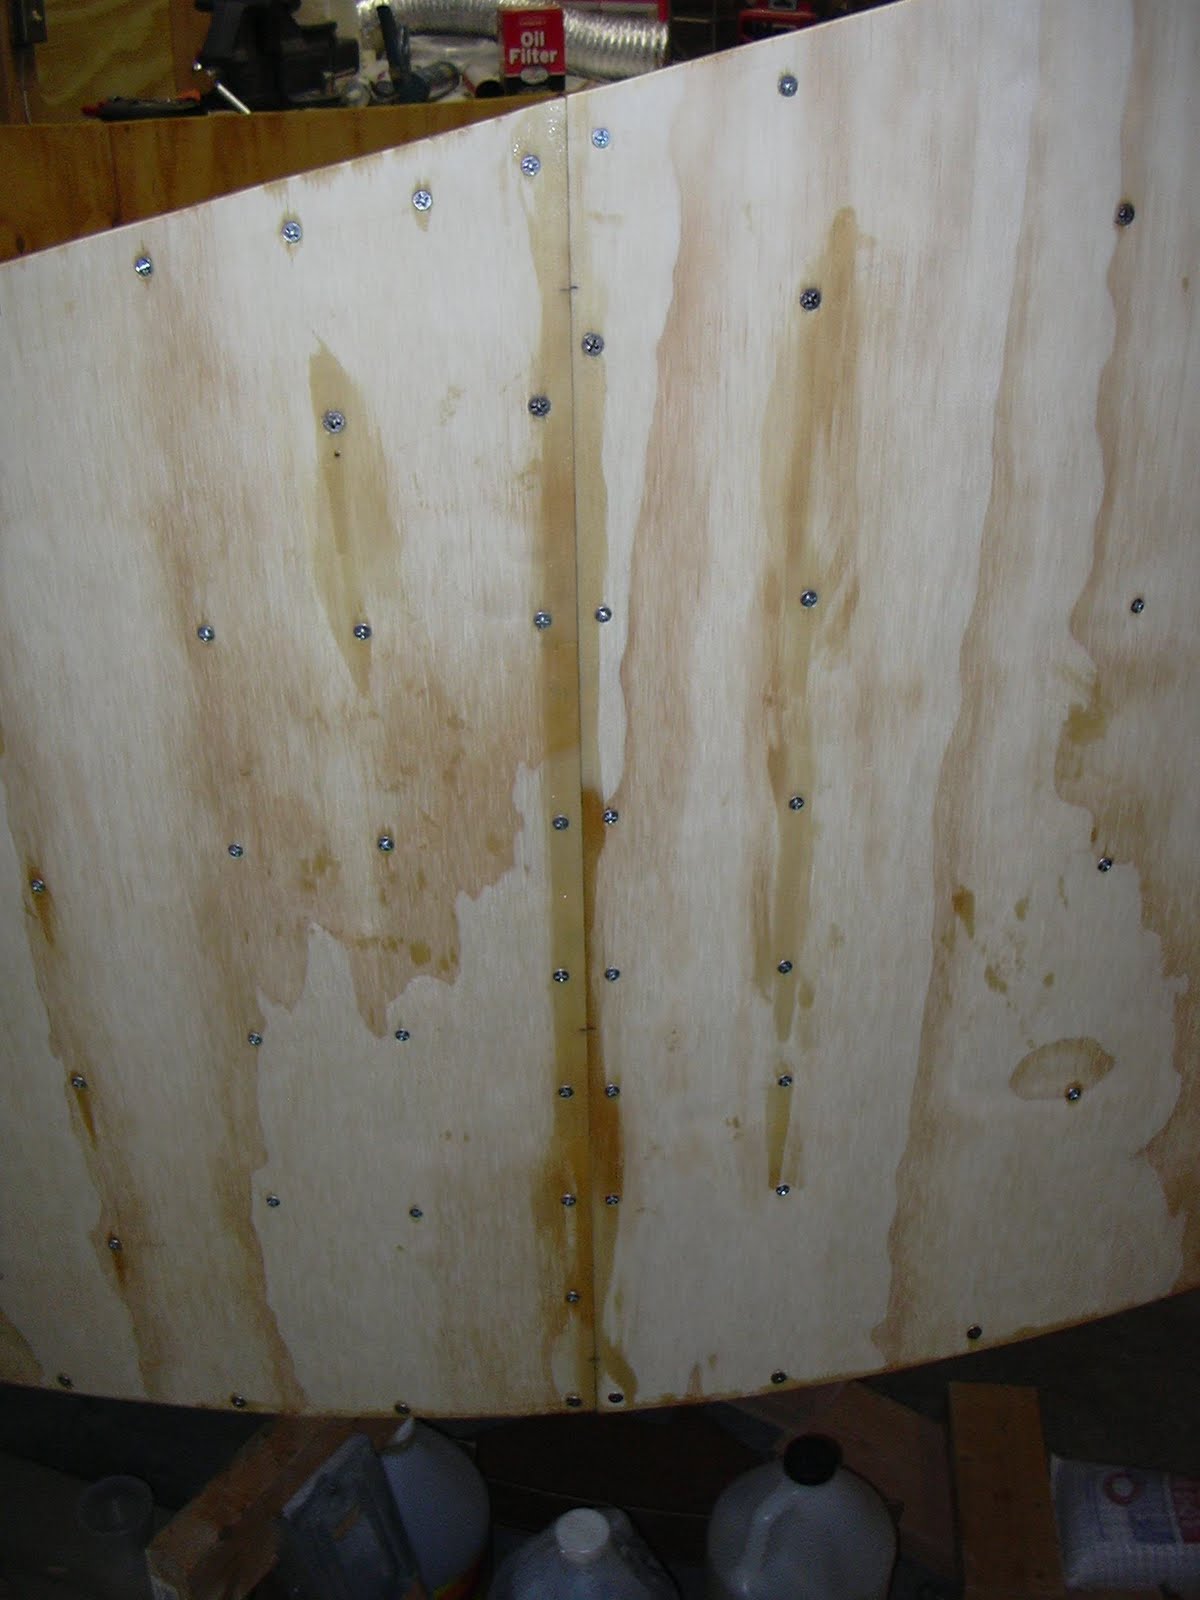
Today, I removed all of the screws that held on the hull side doublers and then sanded and filled each hole (inside and outside) with a epoxy/wood flour mixture.
5 hours

Right Side Hull Doublers Epoxied On


Yesterday, I epoxied on the right side hull doublers with the same method as the left earlier.
4 hours

Thursday, April 7, 2011

Left Side Hull Doublers Epoxied On


Tonight, I epoxied on the three left side hull doublers. I first put epoxy in every hole that was used to put the original sides one along with a cut-off toothpick to help fill the hole. I then put thickened epoxy inside of the holes to fill them up. Then I applied at least two layers of epoxy on each side of each part that were to be attached to each other, then screwed them back on.
4 hours

Tuesday, April 5, 2011

Both Hull Sides Now Set


Yesterday, I set the last right side and all three left side additional 1/4" hull side doublers to be cold molded on today or soon.
3.5 Hours

Sunday, April 3, 2011

Sanded All of the Newly Taped Areas/Began Attaching the Extra Sides


Today, I sanded down all of the newly taped areas. I also began attaching the extra side doublers that will make the hull sides 1/2" instead of the 1/4" in the drawings, which should make it quite a bit stronger.
4.0 hours

Thursday, March 31, 2011

Photos of the Newly Taped Areas


Here are some of the photos I didn't have for the last post.

Tuesday, March 29, 2011

Taped All Sides to Everything Left

Today, I fiberglassed all the remaining areas that the sides attached to, including the transom, bottom of the hull, rear seat verticals, top of front deck and front seat boxes. They were first filleted everywhere and then either 3" or 4 " fiberglass tape was used, depending on the area.
3.5 hours

Monday, March 28, 2011

Front Deck Installed / Bottom Taped To Sides


Today, I taped the front bottom to sides with either 4" fiberglass tape or two overlapped 3" pieces of fiberglass tape.
I also installed the front deck and cleaned up all the extra epoxy.
4.5 hours