Wednesday, May 30, 2012
Red Bottom
Today, I taped off and painted the red bottom with two coats of Mega Gloss Bright Red. It may need a third coat but I will let it dry first and possibly sand it a bit before I do that.
Trailer Work; Hull Primered
Quite a few days ago I finished priming and painting the new trailer stop with the Y on it.
I also began to paint the hull with the Blue Water Marine Paint Mega Gloss Gray Primer. I went ahead and did the complete area that will be gray, but I thought it would be glossy gray primer and it isn't, so I ordered a quart of Pettit EasyPoxy Pearl Gray. I will get the top part of the hull painted when that arrives in the next few days.
The poster paper on the window is for tracing the window opening for making the frames and the lexan or plexiglass windows.
5 hours
Thursday, May 17, 2012
Epoxied Some Spots; Trailer Front Stop
Today, I epoxied some spots that were needing a little extra before paint; i.e. I sanded through some very small spots. And, I also drilled out the right mid bulkhead where the control cables and electrical wire will go and epoxied that as well. I also epoxied the big hole where the steering system goes.
The trailer front stop was welded on where it will hole the rubber Y-Stop to keep the boat from moving forward on the trailer when towing. Again, the welds were not great but will do the job! I also sanded them down for prime a paint, which will be put on tomorrow.
A spare tire holder was also installed a couple of days ago.
5.5 hours
Friday, May 11, 2012
Thursday, May 10, 2012
Steering System Arrived! For Free!!
Well I was in Wichita Marine the other day to purchase a couple of rollers that I previously attached to the trailer, and I asked if they were interested in sponsoring my boat. After they looked at my photos of my build and what it would look like, they graciously told me they would give me my Teleflex Steering System for free!!!!! I, in exchange, will display their logo on my boat for the summer. What a great bunch of people at Wichita Marine! Thank you very much!
Now I can't wait to get it on the boat, but I am SO busy with other airplane projects that it may have to wait for a day or two.
Friday, May 4, 2012
Trailer Rollers Both Installed
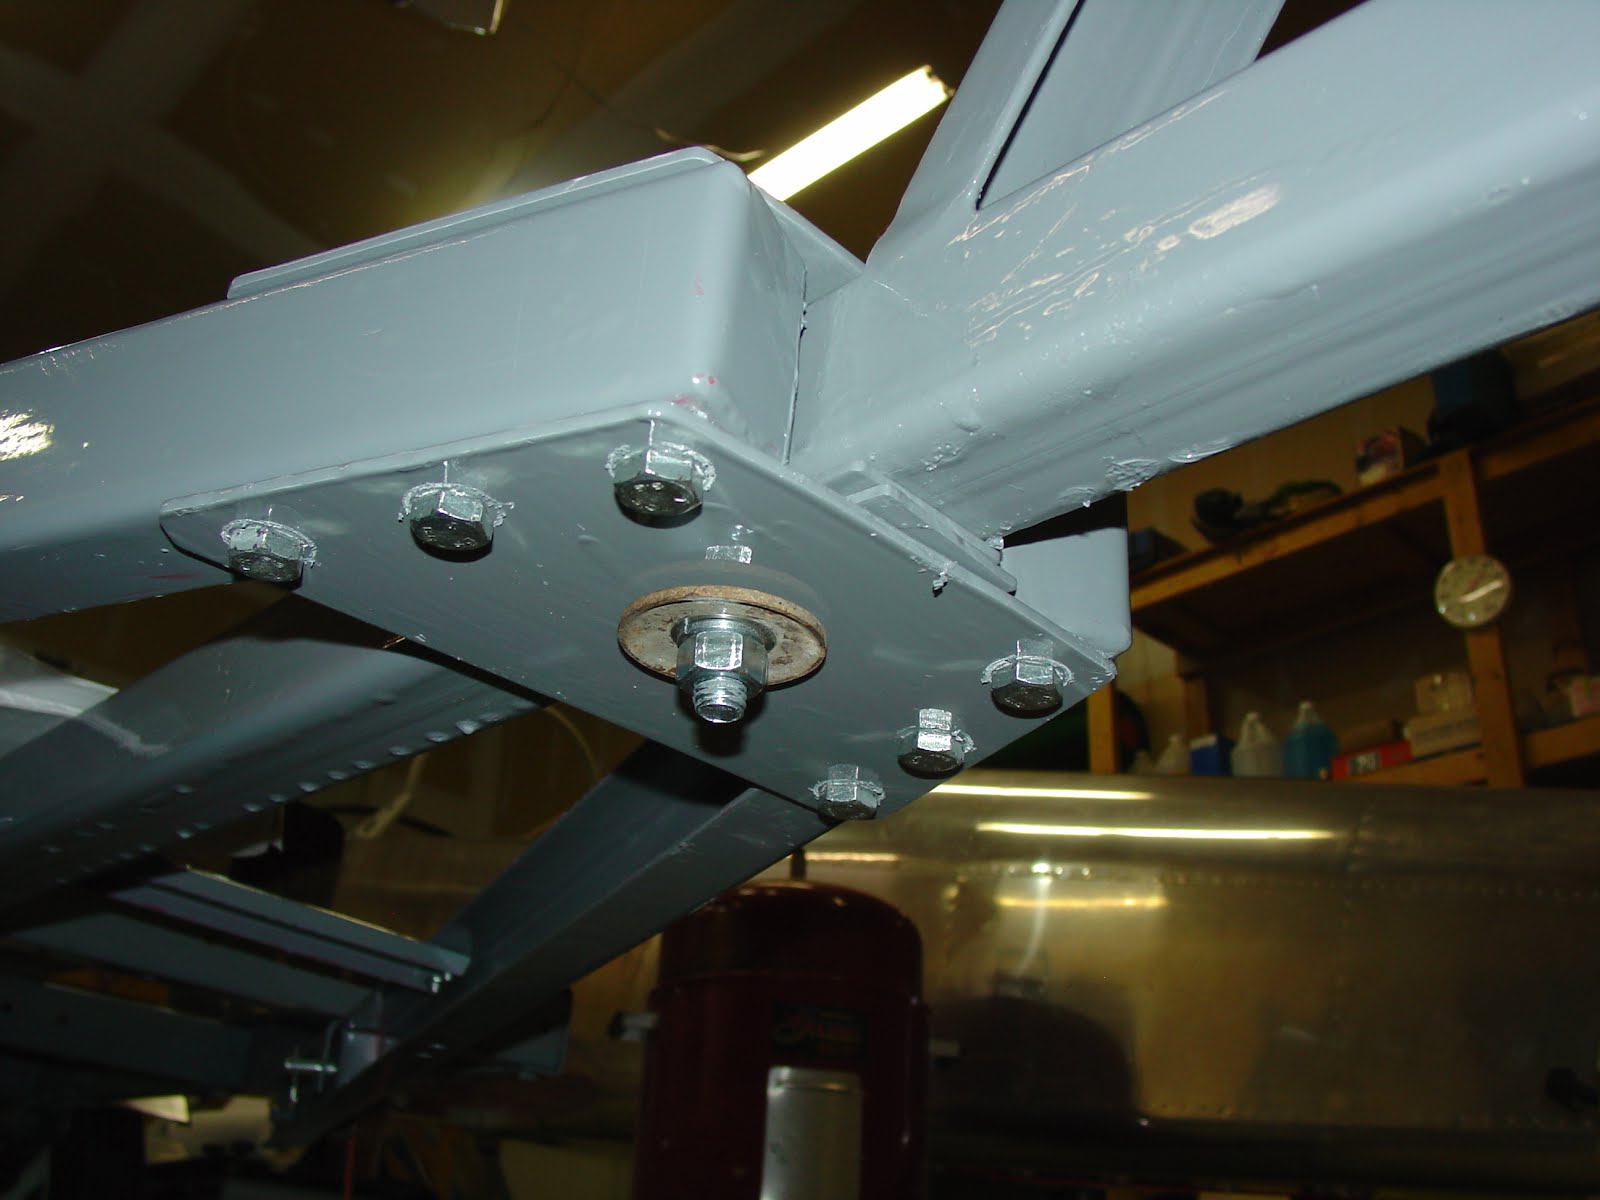
Today, I installed both trailer rollers for good after installing the rear one and then taking everything apart for painting. It does make a big difference on how the boat goes on and off the trailer! As you can see, the brackets I had to make for the middle beam were quite complex to make sure they set exactly right.
2.5 hours
Trailer Roller Work
Yesterday, I attached the front roller to the trailer and began to work on the one that will attach to the middle rail. I will have to remove them afterwards to paint and then reinstall.
2 hours
Tuesday, May 1, 2012
Hull Sides and Stern Sanded
Yesterday, I sanded the hull sides and transom starting with 80 grit, then 120 grit, and then 220 grit with my orbital sander. I hand sanded the gunwhales and rub rails and the fillets on them. Hand and back breaking work!!!This took a total of 12 hours.
Now I need to sand the interior areas and then paint one of these days!
12 hours
Monday, April 30, 2012
Boat Put on Trailer
Yesterday, I finally put the boat on the trailer. I found that it doesn't sit as well as it should according to the plans, so I am looking for a trailer keel roller that is flat that will raise up the bow and help the rest of the boat hull sit tightly against the bunks. I am also trying to determine the best position for the boat on the trailer to make sure it will pull correctly. I wanted to keep the beavertail part past the end of the trailer which would allow the motor to be completely down without hitting the trailer, so I am still looking at that option as well.
That is my girlfriend Jamie, who helped me put the boat on the trailer. I used a engine hoist and a large dolly I had made for a past project.
1.5 hours
Tuesday, April 24, 2012
Monday, April 23, 2012
By the Way!
The reason I haven't been working on this boat as much as I would like is because of this!! It is almost finished, and all Pat and I have to do is put the rest of the interior in and a few small details and it will be flying soon! This will be one SWEET flying airplane!
The panel has a double Chelton EFIS with a complete steam gauge stack, autopilot, Garmin 340, 430, and 327 and an extra SL-40 radio. The autopilot can be switched to be used on the Chelton or the Garmin 430. There is no vacuum on the airplane, as it is a completely electric panel. Less weight and less money!
Trailer Jack and Trailer Lights Installed
Yesterday, after working on Pat's RV-9A and getting it very close to flying, I finally got back to work on the wiring and lights on the trailer. I also used conduit wherever I could to help with future abrasion issues. They were checked on my Dodge Quad Cab and work good! I was going to give it a test tow without the boat on it, but haven't yet.
I also installed the trailer jack the other day. It is a Tool Shop brand? from Menards that was on sale for $24.99 and is the 1500 pound version with a two year warranty! I couldn't find a better deal than that anywhere.
3 hours
Does anybody reading this know how to fix the new way the photos are put in the blog? I can not seem to get them to line up correctly now, as they will not let me put them side by side.
Thursday, April 12, 2012
Trailer Finished Except for the Lights
Yesterday, I assembled the rest of the parts onto the tongue area after they semi-dryed from the painting yesterday. I also installed a 1/2" bolt through the two plates, the 2" x 2" tongue and two shims. I then drilled a 3/8" hole through the top front coupler hole and used one of the original bolts for the original coupler and used that to attach the safety chain.
I also installed the wood bunks with 5/16" galvanized carraige bolts.
4.5 hours
Tuesday, April 10, 2012
Painted Trailer Parts
Today, I spent the morning painting all of the parts of the trailer that were primed or still had red showing from the first painting. I also installed the coupler with new 1/2" x 3 1/2" grade 5 bolts, lock washers and nuts. I will install all of the painted parts tomorrow and then it will be ready for the wood bunks to be installed.
2.5 hours
2.5 hours
Subscribe to:
Posts (Atom)