Friday, August 6, 2010

Bottom of Boat Cut Out and Scarfed Areas Faired


Today, I cut out the bottom to the rough shape on the side and the front. I didn't cut out the stern area of the boat yet, because I have to figure out the best way to install the doublers that will go on the planing surfaces.
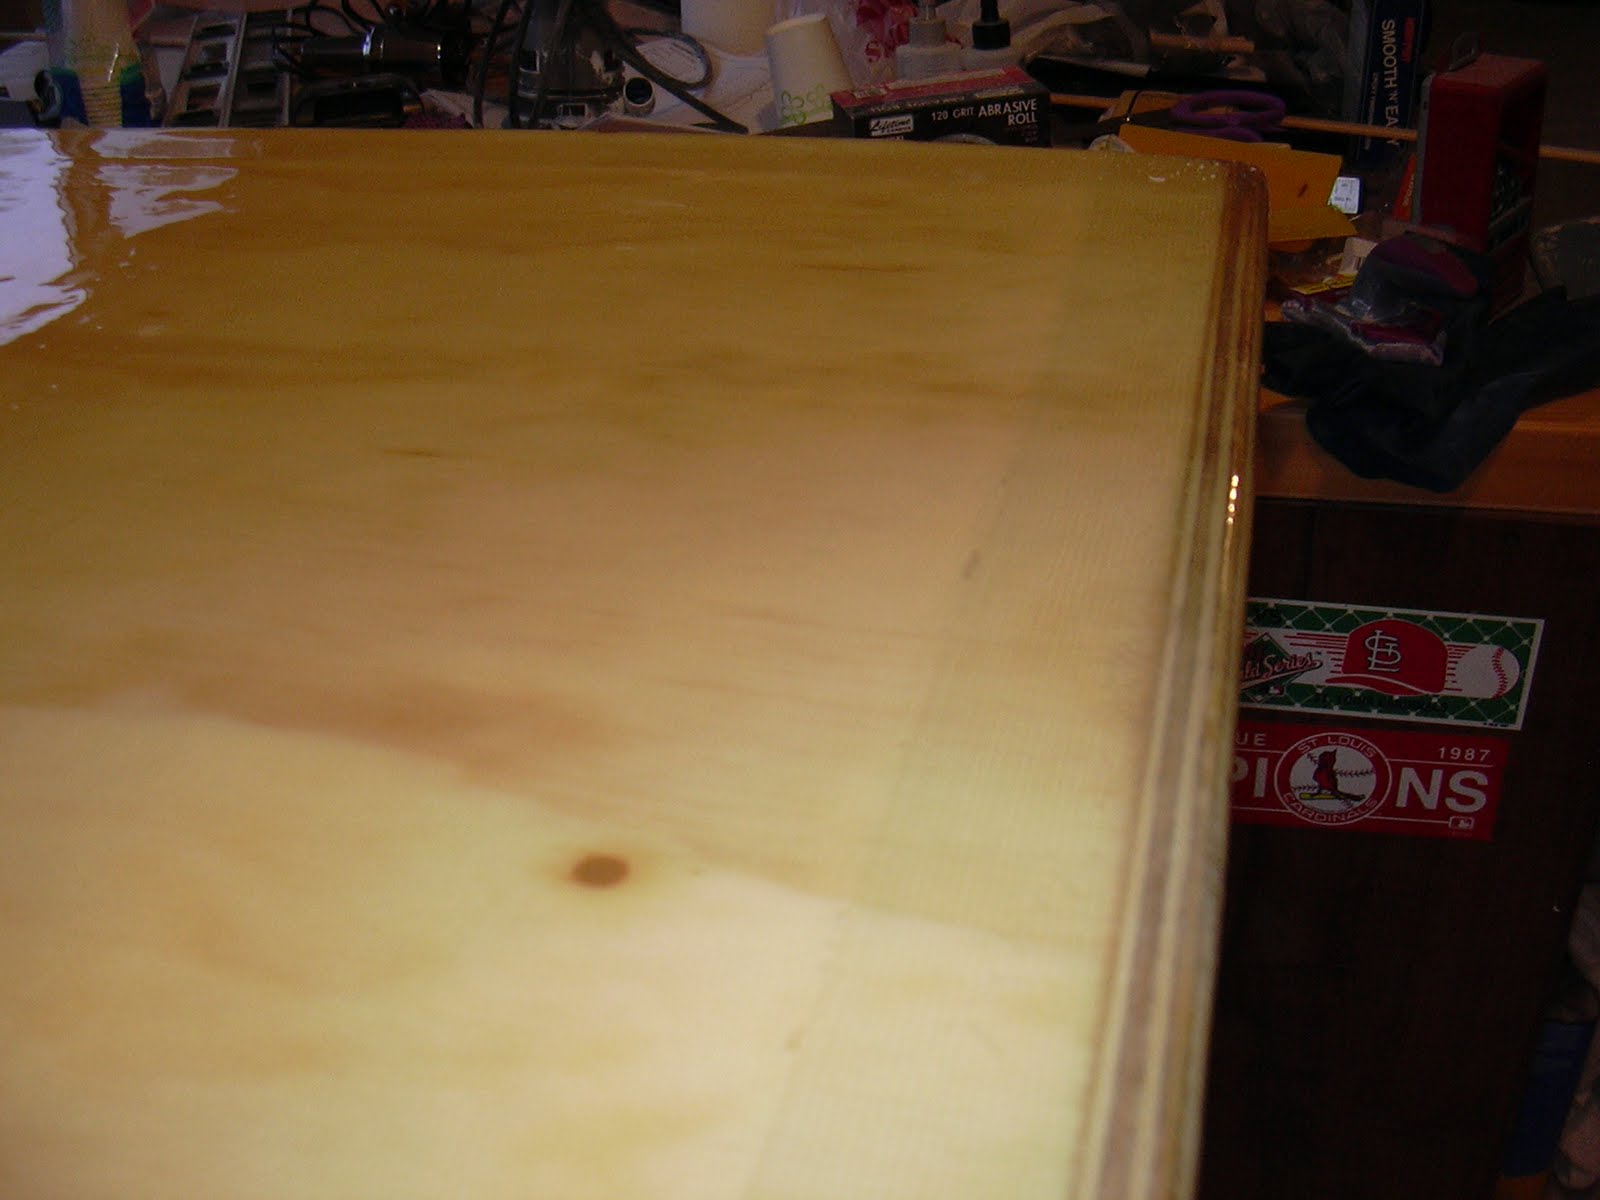
If you look close at the second photo, you can see the two scarfed areas that were glued together. It almost looks like one piece until you look closer.
I also faired the top side of the bottom scarfed areas with a mixture of epoxy and colloidal silica. This is supposed to be the easy stuff to sand once it cures. I will find out tomorrow.
2 hours

Thursday, August 5, 2010

Boat Colors Have Been Decided!!


I have decided what colors the boat will be! My first choice has been changed to the colors of the boat above. I am also contemplating adding the coast guard colors to it, similar to the other photo of the model above. I really want to find out how to make those jute covered bumpers too!!
I may have found an engine for Lil Bump, but I don't have the money to buy it yet. One of these days! It is a Mercury 35 HP with the controls that I will need. It also comes with a boat and trailer, but that is the only way to buy it cheap. I will probably fix up the trailer to work for this boat, and sell the other boat. I would actually give it to someone and it is a pretty nice boat.

Scarfs Cured and Bottom Ready to Cut Out


I removed all of the materials holding down the plywood on the scarffed areas and took a look at the scarfs after curing. Not as good as I would have liked, but not too bad for my first time. I learned a lesson to actually pin the two pieces together that are ready to be epoxied, as they WILL move. I noticed that after my first setup, but I also knew I had made the panel a little wider than needed, so everything will turn out ok. On the second one closer to the rear of the boat, I did pin them together before applying the plywood piece and all of the weight. It turned out real good.
These picture show the outline of the bottom of the boat and this is ready to be cut. There is also a closeup of the scarffed areas that will be faired in a day or two. They need to be smooth for the fiberglass that will be put on later.

Tuesday, August 3, 2010

Three Pieces of the Bottom Now One!


Tonight I cleaned up the scarfs that were cut the last couple of days and epoxied all three 4' x 5' panels together. I carefully lined up all of the pieces to make sure where they need to attach and keep the panels straight in both dimensions (across the edges and over the top of the panels). I don't want to have to fair them too much.
As you can see in the photos, I used 5 1/2" pieces of plywood on the top of each scarf, while using a 2" x 6" piece on the bottom. Screws were used to go through the top piece of plywood, through the scarfed areas, and then into the 2" x 6" piece to hold everything together tight. I then added as much weight on top of the pieces of plywood as I could find. The one with the hand weights added up to 340 lbs total while the other one was probably close, but I have no real idea. All I know was everything was pretty heavy, especially the vise!
Tomorrow or the next day I will take everything apart and see how it went. The epoxy must cure at least 24 hours before disassembly or things might come apart.
This piece after being epoxied together is now 11' 3" long and 5' wide.

Monday, August 2, 2010

Scarffing the Bottom Panels


Last night I finally got to start the scarffing process. Scarffing or Scarphing? I am going with the Scarffing spelling, as that is the most common spelling I have found.
Anyway, scarffing is a big learning process that turned out to be very easy once I got the method down. On the first two panels I tried, I followed the recommendation of several boat builders and went up and down the scarfs. This method too over 1 1/2 hours before I was able to sand. I figured there had to be an easier way, so on the next two panels I tried going side to side, keeping the electric planer somewhat tilted the same direction of the final scarfs. This method took only about 15 minutes!! The sanding required afterwards was extremely easy after this method also!
Look closely at the photos and you will see over a foot of sawdust! And that is only from the second set!
I will try to get them glued together tonight. My epoxy and fiberglass showed up a few days ago, so I can really get moving on finishing this project.


Monday, July 26, 2010

Epoxy Resin and Fiberglass In Route!!

I ordered a little bit of fiberglass and epoxy last week to keep me going. Should be here by Wednesday, July 28th!! I will scarf the bottom together first and start building the seat boxes.
Can't wait to get this project back in work. I have spent the last month removing the old caulk and putting in new on my house, in preparation for painting. Talk about a big job. Now I know why they charge $3000-4000 to re-caulk a house!!

Tuesday, May 18, 2010

More Parts Cut Out


The last few days, I cut out all of the seat box parts, the cabin frames, and drew the deck part on the plywood.

Tuesday, May 11, 2010

Bottom and Cabin Sides Cut Out

The other night I cut out the three pieces that will be for the bottom of the boat, as well as the 1/4" cabin sides. I began to mark out the pieces that will be the seats on the plywood, but will cut them out tonight. The seat boxes on the plans show that the inside space will be completely closed off, but I am going to go a little different route and make those areas usable storage space. I will use some Douglas Fir I have from the transom jig to strengthen the seat boxes up, and cut out holes in the forward face of the seat box. Those spaces will be big enough to put some fishing items in, or maybe a small cooler for the drinks!
The bottom will be scarfed together to become one piece. The plans show you can butt them together and use epoxy and fiberglass tape, but I don't think that would be near as strong as the scarfs will be.
I will put the pictures of the cut out pieces on here later. Nothing to show right now but some pieces of plywood.

Thursday, May 6, 2010

Transom Epoxied Together


Tonight I epoxied the transom together. As I got about a third of the way through putting the epoxy on, I ran out of my original hardener that I was using. I already had a small can of what I thought was new hardener, but it turns out it was pretty old, and I don't know how old. I didn't have a choice but to continue using what I had. I put two layers of epoxy on all pieces, as it just soaks into the plywood.
I lined up the plywood, putting the screws in to line everything back up. Then I put the transom pieces back in the jig. As you can see from the photo, I used 43 clamps of different types. I also used several screws to make sure the middle part is tight.
I will now let it set up for a day to see if the epoxy is any good. If not, I will have to buy more plywood and epoxy and try again.

Monday, May 3, 2010

Transom Jig Built


Tonight I built the transom jig, which consist of two 2x6's at six feet long, four 2x4's at two feet long, and two 2x4 1/2's at two feet to put in the middle to bow the transom.
I attached the 2x4's on the jig with 3 1/2 inch screws and adjusted the space in-between the two 2x4's to allow for the bend.
The transom pieces were then cut out of 1/4" plywood in four different pieces to allow more plywood to be utilized for other parts. The smaller pieces are sandwiched between the two other normal size pieces. The transom pieces are cut to 22"x56". After everything is cured, the transom will be cut to its final size.
I then matched all pieces together to get them straight and put several screws through all of the layers to make sure they can't move when epoxied together.
The pictures show the transom in place on the jig, which I will leave overnight to help the plywood adjust to the bend. I will then epoxy them together tomorrow.

Sunday, April 25, 2010

Making the Keel Smooth


Last night and this morning was spent sanding, sanding, and more sanding. The lines from the fiberglass tape were visible and I wanted to smooth everything down as much as possible. I then added one more layer of epoxy to fill all exposed fiberglass cloth from the sanding and to smooth everything out. The sides were not completely epoxied because there will be tape added with the keel is attached to the bottom. If you look closely at these photos and the ones from before, you should be able to see the difference where the fiberglass tape is.
I was going to do the bottom next, but I think I will go ahead and make the transom. I will need two 2x6's and one 2x4 for the jig to bend and epoxy the transom pieces together, so off to Lowes I goes.

Sunday, April 18, 2010

Keel Fiberglassed


After several more weeks off for traveling and things, I have finally got to fiberglassing the keel exterior. First, I put four inch fiberglass tape on all of the corners, and then put one layer of fiberglass over the entire keel. In the close-up picture, you can seen the four inch around the corners.
I then applied at least three more layers of epoxy on everything to smooth it out. Most of it is now glass smooth.
After it has dried one more day, I will sand most of it down to smooth it out and apply some fairing material to make it look better.
I now need to get started on the bottom of the boat!

Tuesday, March 30, 2010

Sanding and Filling All of the Holes


I have worked on the keel for several days without adding to the blog, so here is what I have accomplished.
The last few days, I have completed a lot of sanding to get the keel ready for the fiberglass on the exterior.
I have also filled all of the screw holes with a wood flour/epoxy mixture and let them cure.
I will try to sand all of them down smooth tonight so I can lay up the fiberglass soon.
I faired the sides of the keel into the stem, making it a smooth transition, and I also routed all of the edges with a 1/2" roundover bit.

Saturday, March 6, 2010

Keel in One Piece!


Today I finally got to epoxying the entire keel together.
I first put a coat of un-thickened epoxy over all areas that were going to join, then I mixed up some epoxy with wood flour to thicken it up. This mixture was spread on all areas to be joined.
The left side went on first, then the right, and was screwed very carefully along the way. I didn't want any new holes in the plywood where they shouldn't be. I then epoxied in all of the keel stiffeners, and filled all of the screw holes on the interior with thickened epoxy.
The stem was then set in the same two mixtures, but I couldn't get it perfectly straight. It is very close, but not really good enough for my standards. Unfortunately, there is not a lot I can do about it at this point. I just hope it will not be too noticeable when it is completed.
I also put another layer of epoxy on all interior surfaces of the keel structure, making it at least three coats on everything.
Next, I will turn it over and get it ready for fiberglassing the bottom.

Monday, February 15, 2010

Lots of Sanding

Yesterday, I spent about 2 hours sanding all of the parts I epoxied on Saturday to get them ready to start gluing the keel together.
No Pictures today.

Sunday, February 14, 2010

Layering on the Epoxy


Yesterday was spent putting at least two layers of epoxy on all of the parts of the keel to be assembled next. About 3.5 to 4 hours were taken in between coats to allow it to gel up before the next layer of epoxy was applied. Extra care was taken to coat all of the edges of the plywood pieces as they seem to just soak up the epoxy. The attached pictures are after the first coat. The second coat sealed it much better, although there are a few spots I will sand a little bit and add a third coat. This is the only time to seal these parts as it will be completely sealed up once it is attached to the bottom of the boat. There are no second chances to make sure you sealed everything. I am also thinking about fiberglassing the entire inside of the keel, but I will at least fillet and tape all of the corners.
Next to assemble and epoxy the entire keel together.

Sunday, February 7, 2010

All Screwed Up! Then Not.


After much time doing other things like trying to finish the RV-9A airplane in the garage, I finally got around to attaching all of the keel stiffeners in place. It took exactly 198 screws, sheetrock and wood screws. I wanted to make sure that everything would be really tight once it is epoxied together. I used the wood screws for the sides and bottoms of the keel stiffeners.
I used the sheetrock screws for most of the rest of it, but they will not be used anymore.
After I completely assembled everything and made sure it was all straight, I disassembled it all to start the gluing up process.
First to epoxy together are the keel stiffeners and Douglas Fir pieces. All of the areas to be glued together were first coated with the epoxy then let sit for a couple of minutes and coated a second time before being screwed together. This is because the epoxy will quickly soak into the plywood and Douglas Fir pieces, and you don't want any of the glue joint to be lacking the epoxy. I then took a squeegee and used the epoxy squeezed out to coat some of the parts being glued together.
They were left overnight to let the epoxy harden, and then I started taking out the sheetrock screws, where I had two of them break off. As stated before in a previous post, I thought this would happen, so I am no longer going to use them. They are WAY too weak. I also have no real good way to remove the part of the screw that broke off, so they will be epoxied over several times to seal them real good. Everything will be coated two or three times with epoxy anyway.
Now to start epoxying the keel itself together.