Sunday, August 22, 2010

Lots of Stuff!


Today and yesterday, I sanded down the entire top side of the bottom, making it nice and smooth, especially where the fiberglass overlapped.
I also trial fit the transom to the bottom and marked its location and where it will need to be cut to match the sides. I then marked out where the planing doublers will be on the bottom. Taking those measurements, I marked out the planing doublers on 1/2" plywood and cut them out.
I also smoothed out all of the epoxy/wood flour filled holes on the transom.
6 hours (1 hour last night and 5 today)

Saturday, August 21, 2010

Seat Design Chosen

I have chose this design for my seats in the white/red/charcoal colors. Should be comfy!!

Thursday, August 19, 2010

Top of Bottom Now Fiberglassed


Tonight, I filled the holes for the fasteners that went through the bottom to the keel. Then, I added a layer of fiberglass to the top of the bottom. I also put an extra layer of epoxy on top after the initial layer.
3 hours

Tuesday, August 17, 2010

Bottom Attached to Keel


The bottom was epoxied to the keel with the first layer of un-thickened epoxy and then a layer of epoxy/wood flour on the entire surface of the keel that attached to the bottom. I used wood screws and washers to tighten everything down. A little weight was used in a couple of areas to help it contour to the keel better.
After this dries, I will be filling all of the holes with a epoxy/wood flour mixture and then fiberglass the entire top side of the bottom. Then I can install the seats, fence, etc.
2 hours

Monday, August 16, 2010

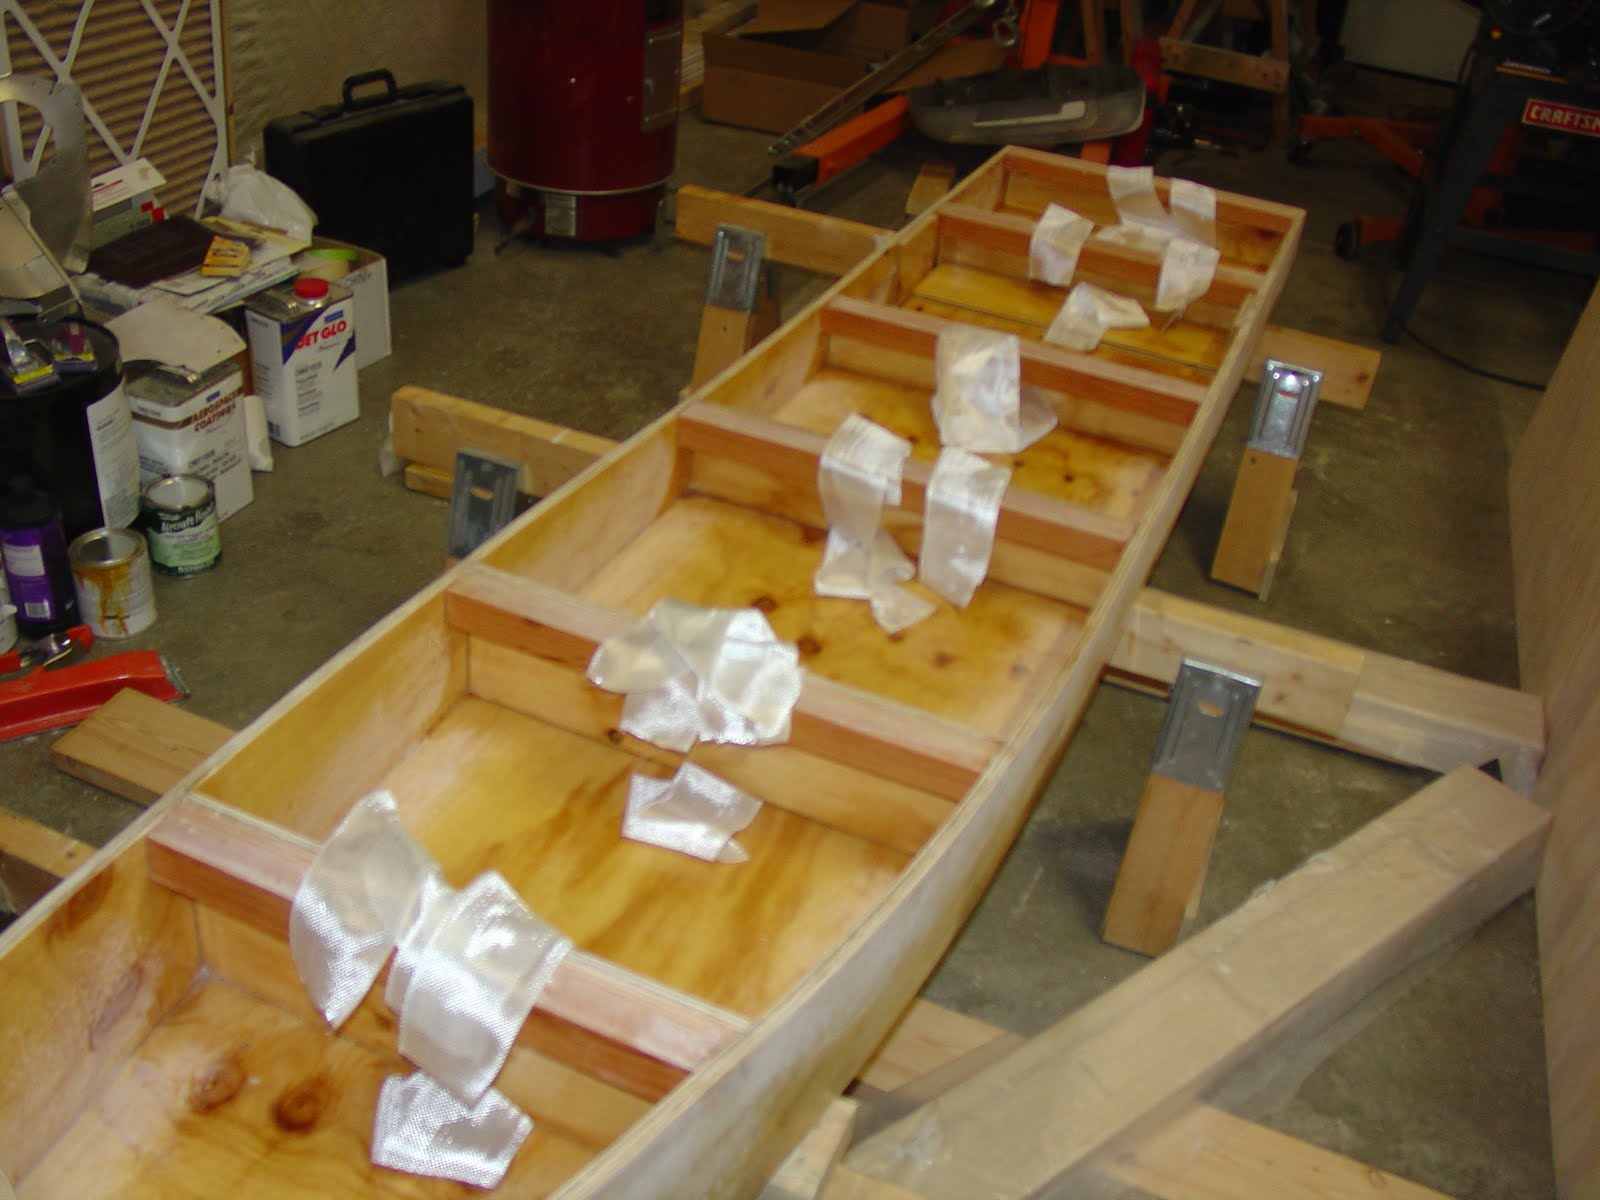
Keel Taped


I decided to tape the keel on the inside corners for extra strength before attaching the bottom. This was the last chance to strengthen anything in the keel, as it will be completely closed off after attaching the bottom. I sanded down the epoxy in the corner areas so the new epoxy and fiberglass tape would adhere good.
I also put a layer of epoxy on all surfaces that will attach to the bottom to seal them.
3.5 hours

Thursday, August 12, 2010

Trial Fit the Bottom to the Keel


The bottom was fit to the keel and marked for the fasteners that will go through the bottom into the keel stiffeners. The bottom was then taken off, marked, and drilled. Then, the bottom was put back into place on the keel and the fasteners were installed to hold the bottom down tight for the epoxy/wood filler that will be next.
The sides of the keel were sanded enough to take the layer of tape that will be applied once the bottom is epoxied to the keel. I also made sure that the keel stiffeners are level so the bottom will sit up tight against as much of it as possible.
4.25 hours

Wednesday, August 11, 2010

Bottom Sanded Smooth


Early this morning (about 5:00 AM), I put on two more layers of epoxy to fill the fiberglass weave. This had time to cure while I was at work today with the extremely hot temperatures Wichita has been experiencing.
Tonight, I cut the edges of the fiberglass off and sanded the sides smooth. I also sanded down the entire fiberglassed area with 40 grit sandpaper disc on my electric 5" disc sander. You can tell it has been sanded enough with there is no shine left on the epoxy (cloudy appearance), as well as taking down any rough spots. You can also see where the two pieces of fiberglass came together, which is now sanded down to be as smooth as possible. I believe some of that area will be under the keel when finished. By the time it is complete there will be a few more layers of epoxy on all surfaces.
Next will be to attach this bottom to the keel.
3 hours

Tuesday, August 10, 2010

Bottom Fiberglassed


Tonight, I put on a layer of fiberglass and epoxy on the entire bottom of the boat. I will need to get up about 2:30 in the morning to add another layer of epoxy, and then another about 6:30 AM. As you can see in the first photo, there are two pieces of 6 oz plain weave fiberglass used. I wanted to use a 60" wide piece, but forgot to order it when I ordered the rest of the fiberglass. I looked here in town at lunch today, but nobody had 60" available. Not many companies in Wichita carry fiberglass cloth I have found out.
3 1/2 hours.

Monday, August 9, 2010

Bottom Scarfs Faired Second Time


Yesterday, I put on another layer of epoxy/wood flour/colloidal silica mixture to the scarfs and let that cure. Today, I sanded them down smooth, ready for fiberglassing the bottom.
I also cut out the back bottom of the boat to shape.

I was going to fiberglass the bottom tonight, but once I get started, it will take about three hours to get it down right and full of epoxy. It will take at least three, and maybe four, layers of epoxy to get it sealed good. I hope to do that tomorrow.

I also looked at the transom, getting ready to shape it before matching it up with the bottom, and found it really warped. I may have to build another one, as this will be really noticable if I installed it this way. I am not sure why this happened, as it was not warped when I removed it from the jig after it cured.

2 hours

Saturday, August 7, 2010

Bottom of the Bottom Now Faired

Today, I turned over the bottom to work on the bottom side, fairing it with the epoxy/colloidal silica/wood flour mixture. It is now curing. It will probably take another layer to make it where I want it. I will then make sure it is nice and smooth and fiberglass it.
There were also several checks in the plywood that were filled in with the mixture.
2 hours

Friday, August 6, 2010

Bottom of Boat Cut Out and Scarfed Areas Faired


Today, I cut out the bottom to the rough shape on the side and the front. I didn't cut out the stern area of the boat yet, because I have to figure out the best way to install the doublers that will go on the planing surfaces.
If you look close at the second photo, you can see the two scarfed areas that were glued together. It almost looks like one piece until you look closer.
I also faired the top side of the bottom scarfed areas with a mixture of epoxy and colloidal silica. This is supposed to be the easy stuff to sand once it cures. I will find out tomorrow.
2 hours

Thursday, August 5, 2010

Boat Colors Have Been Decided!!


I have decided what colors the boat will be! My first choice has been changed to the colors of the boat above. I am also contemplating adding the coast guard colors to it, similar to the other photo of the model above. I really want to find out how to make those jute covered bumpers too!!
I may have found an engine for Lil Bump, but I don't have the money to buy it yet. One of these days! It is a Mercury 35 HP with the controls that I will need. It also comes with a boat and trailer, but that is the only way to buy it cheap. I will probably fix up the trailer to work for this boat, and sell the other boat. I would actually give it to someone and it is a pretty nice boat.

Scarfs Cured and Bottom Ready to Cut Out


I removed all of the materials holding down the plywood on the scarffed areas and took a look at the scarfs after curing. Not as good as I would have liked, but not too bad for my first time. I learned a lesson to actually pin the two pieces together that are ready to be epoxied, as they WILL move. I noticed that after my first setup, but I also knew I had made the panel a little wider than needed, so everything will turn out ok. On the second one closer to the rear of the boat, I did pin them together before applying the plywood piece and all of the weight. It turned out real good.
These picture show the outline of the bottom of the boat and this is ready to be cut. There is also a closeup of the scarffed areas that will be faired in a day or two. They need to be smooth for the fiberglass that will be put on later.

Tuesday, August 3, 2010

Three Pieces of the Bottom Now One!


Tonight I cleaned up the scarfs that were cut the last couple of days and epoxied all three 4' x 5' panels together. I carefully lined up all of the pieces to make sure where they need to attach and keep the panels straight in both dimensions (across the edges and over the top of the panels). I don't want to have to fair them too much.
As you can see in the photos, I used 5 1/2" pieces of plywood on the top of each scarf, while using a 2" x 6" piece on the bottom. Screws were used to go through the top piece of plywood, through the scarfed areas, and then into the 2" x 6" piece to hold everything together tight. I then added as much weight on top of the pieces of plywood as I could find. The one with the hand weights added up to 340 lbs total while the other one was probably close, but I have no real idea. All I know was everything was pretty heavy, especially the vise!
Tomorrow or the next day I will take everything apart and see how it went. The epoxy must cure at least 24 hours before disassembly or things might come apart.
This piece after being epoxied together is now 11' 3" long and 5' wide.

Monday, August 2, 2010

Scarffing the Bottom Panels


Last night I finally got to start the scarffing process. Scarffing or Scarphing? I am going with the Scarffing spelling, as that is the most common spelling I have found.
Anyway, scarffing is a big learning process that turned out to be very easy once I got the method down. On the first two panels I tried, I followed the recommendation of several boat builders and went up and down the scarfs. This method too over 1 1/2 hours before I was able to sand. I figured there had to be an easier way, so on the next two panels I tried going side to side, keeping the electric planer somewhat tilted the same direction of the final scarfs. This method took only about 15 minutes!! The sanding required afterwards was extremely easy after this method also!
Look closely at the photos and you will see over a foot of sawdust! And that is only from the second set!
I will try to get them glued together tonight. My epoxy and fiberglass showed up a few days ago, so I can really get moving on finishing this project.